Easily configure and harness the power of Oracle Cloud Infrastructure (OCI) Command Line Interface (CLI) with our expert guide. Explore step-by-step instructions and best practices for setting up OCI CLI, enabling efficient management and automation of your cloud resources with ease. We will use windows server machine to install OCI CLI and configure it with Oracle cloud account. Later, we will start/stop OCI services e.g. OCI compute instances and Analytics instance.
Install Oracle OCI CLI in Windows
Learn how to install the Oracle Cloud Infrastructure Command Line Interface (OCI CLI) on your Windows operating system with ease. Our step-by-step guide provides detailed instructions, enabling you to quickly set up OCI CLI and efficiently manage your cloud resources directly from your Windows environment.
Before starting installation, make sure the windows machine has internet access since we need to download CLI package. To download, open your windows PowerShell as administrator and run the following script
iex ((New-Object System.Net.WebClient).DownloadString(‘https://raw.githubusercontent.com/oracle/oci-cli/master/scripts/install/install.ps1’))

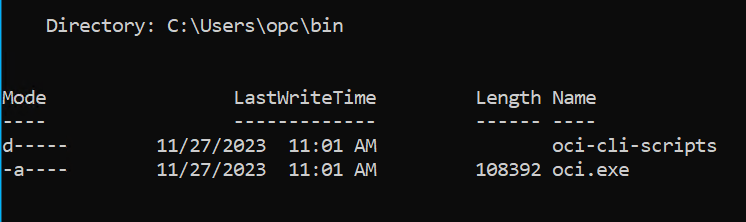
During the install process, all the required environment variables and path will be setup and default path shown below.
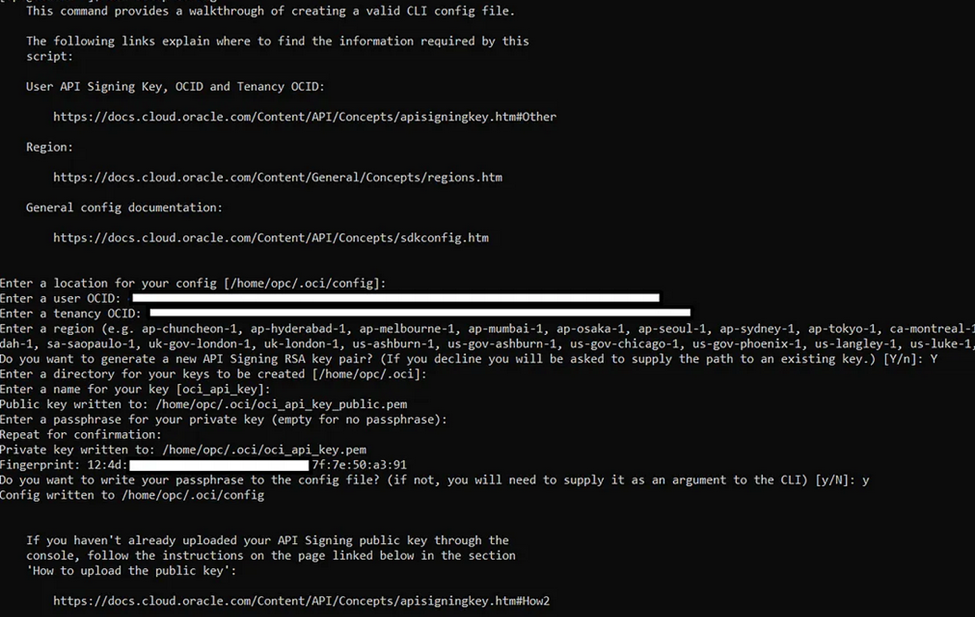
Configure Oracle Cloud OCI CLI
Configuring the Oracle Cloud Infrastructure (OCI) Command Line Interface (CLI) enables you to efficiently manage your cloud resources from the command lin.
- Run the command oci setup config to generate the private/public keys.
- Ensure you have an active Oracle Cloud account with the necessary permissions to access OCI resources. Obtain your tenancy OCID (Oracle Cloud Identifier), user OCID, and the fingerprint of your public SSH key from the Oracle Cloud Console.
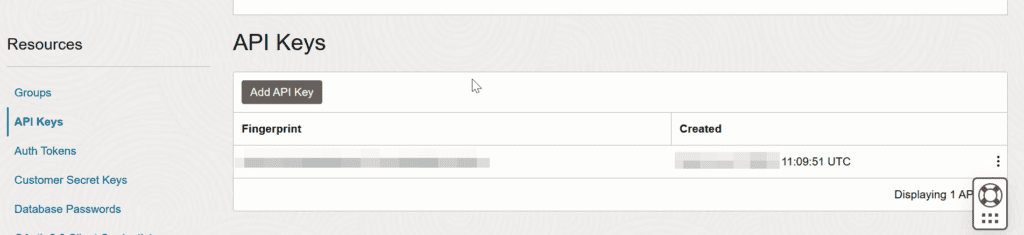
- After completion of script, .pem files will be generated in .oci folder. Copy the public key .pem file and upload it to your OCI user under API key section in OCI console
Test OCI CLI
You can test the installation of OCI CLI by stopping an OCI instance as follows
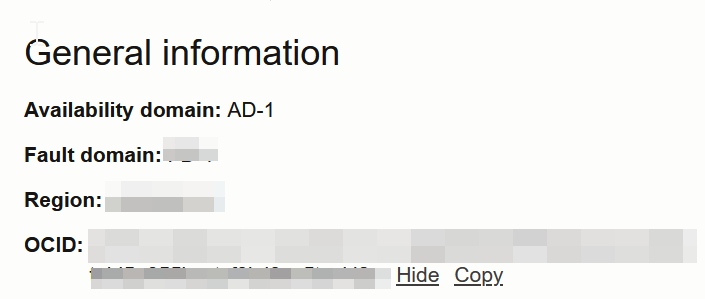
oci compute instance action –action STOP –instance-id replace-with-instance-ocid

Get the OCID of the instance from instance details page. You may need to specify the region in above command if your tenancy has services in multiple OCI regions.
Remember to keep your OCI CLI version up-to-date and to follow best practices for securing API keys and credentials.
OCI CLI Commands and Usage
Explore the wide range of commands available in OCI CLI to perform tasks such as:
- Managing compute instances
- Provisioning storage resources
- Configuring networking components
- Monitoring and logging activities
- Automating workflows with scripts and SDKs
Advanced OCI CLI Configuration
For advanced users, OCI CLI offers additional configuration options and customization features. These include:
- Profile management for multiple configurations
- Plugin installation for extended functionality
- Environment variable settings for automation and scripting
Refer to the OCI CLI documentation for more information on advanced configurations.
2 thoughts on “Oracle Cloud OCI CLI Setup”